Absolute Install Guide | |
| The Absolute is an all-in-one integrated drain and flashing solution, designed for second storey sections. Due to its unique design, when installing, the floor sections do not need to be cut into, so there is no interfering with the structural integrity of the floor. However, it can be used on any floor level to make installation simple and easy. We use and recommend Graded Construction Board for quick and easy creation of fall in your wet area. Please download the Install Guide pdf for your convenience. Absolute Installation Guide pdf Double Absolute Installation Guide pdf Related: Graded Construction Board Page Enquire Now |  |
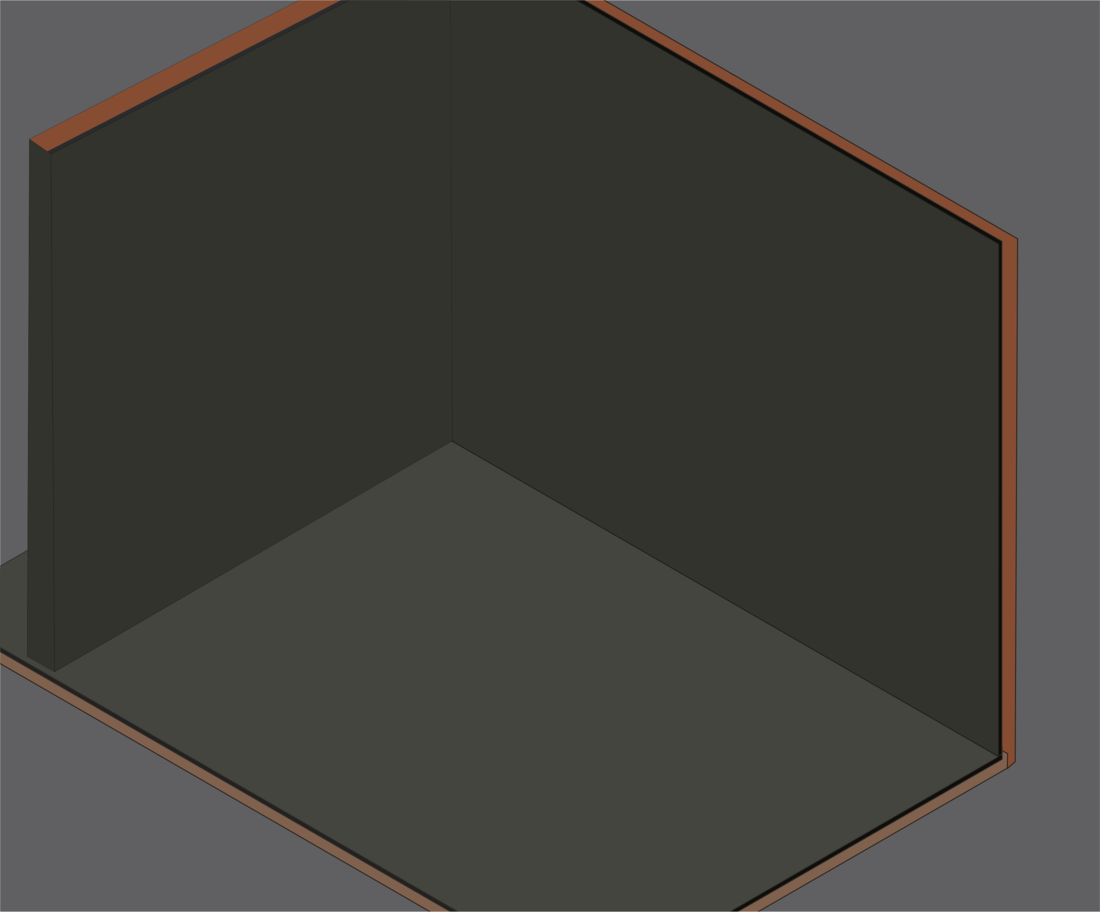
Step 1
Install cement sheet/ WR board to the wall and floor area.
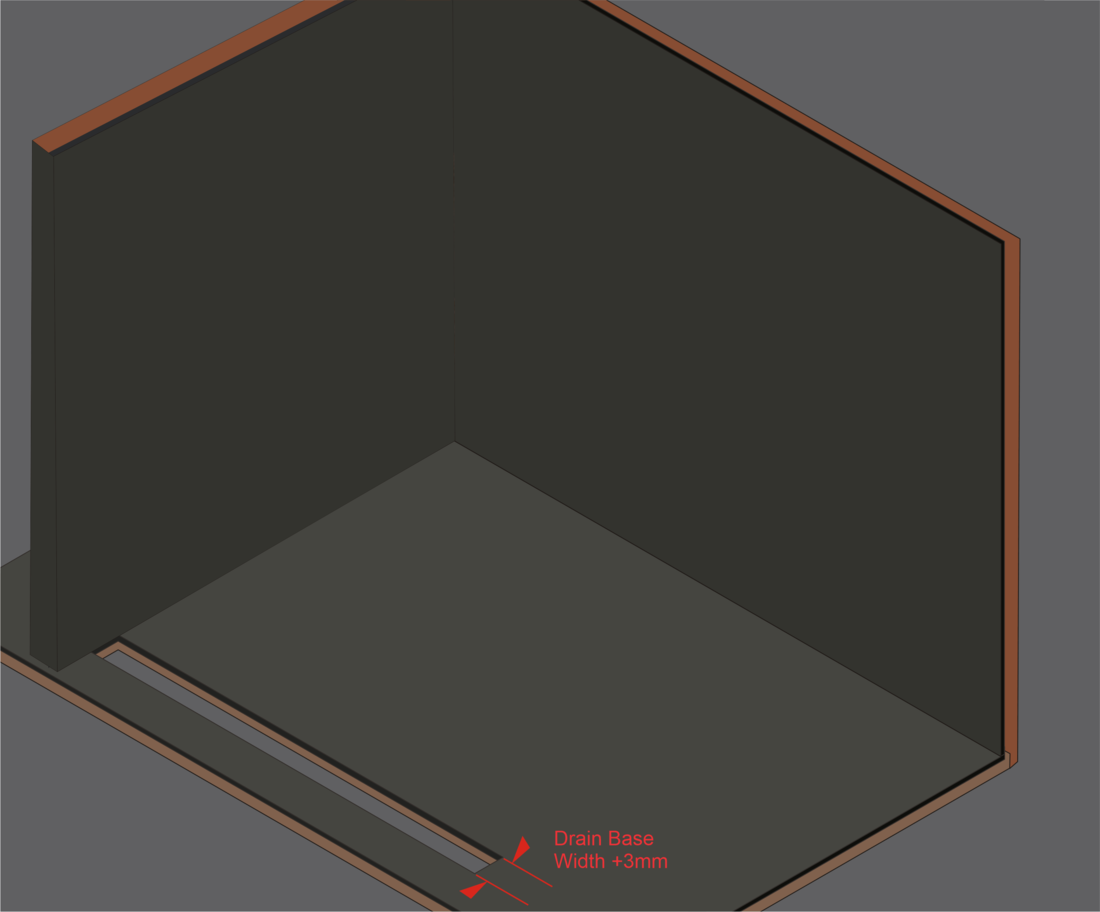
Step 2
Cut the rebate for the drain base out of the floor.
Fit additional noggins if required to support the floor between joists.
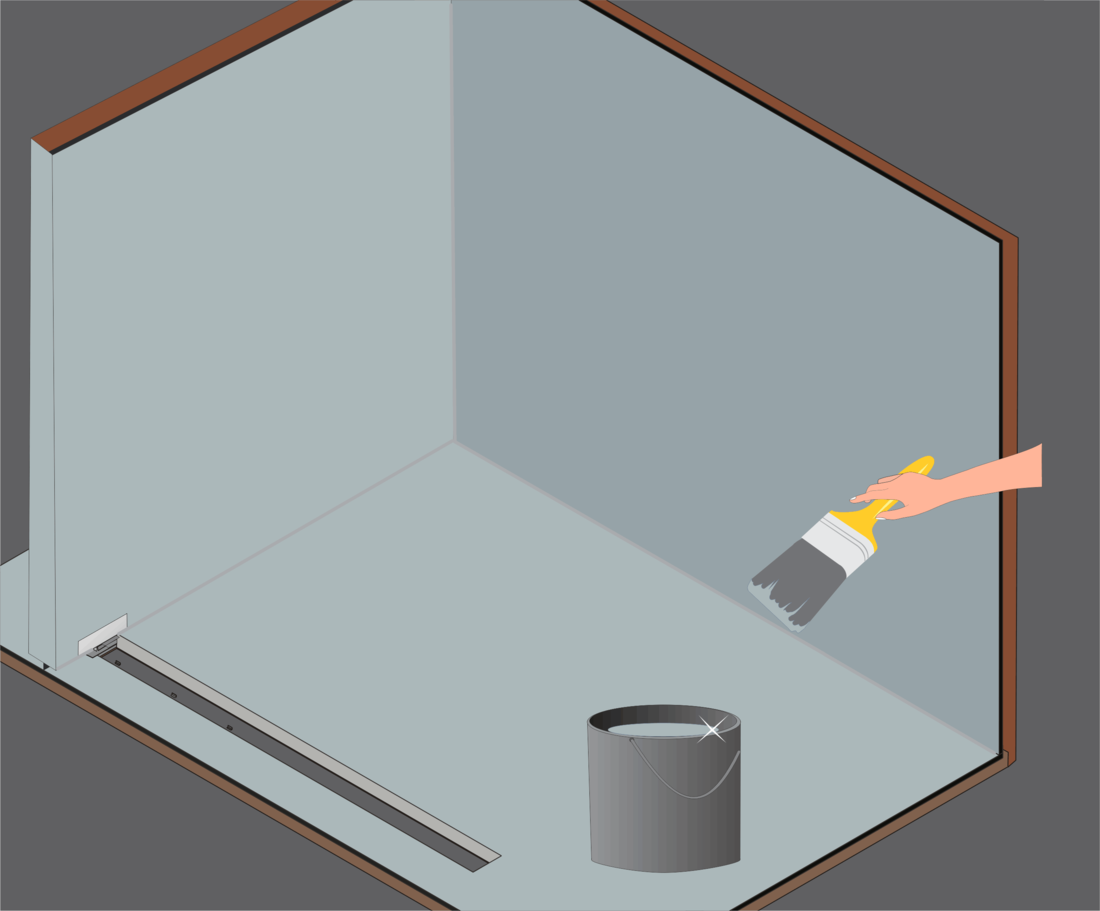
Step 3
Once the underlay is installed, clean the entire floor area. Apply a suitable surface primer to the boards and when dry, apply a propriety waterproofing compound ie acrylic or polyurethane.
Step 4
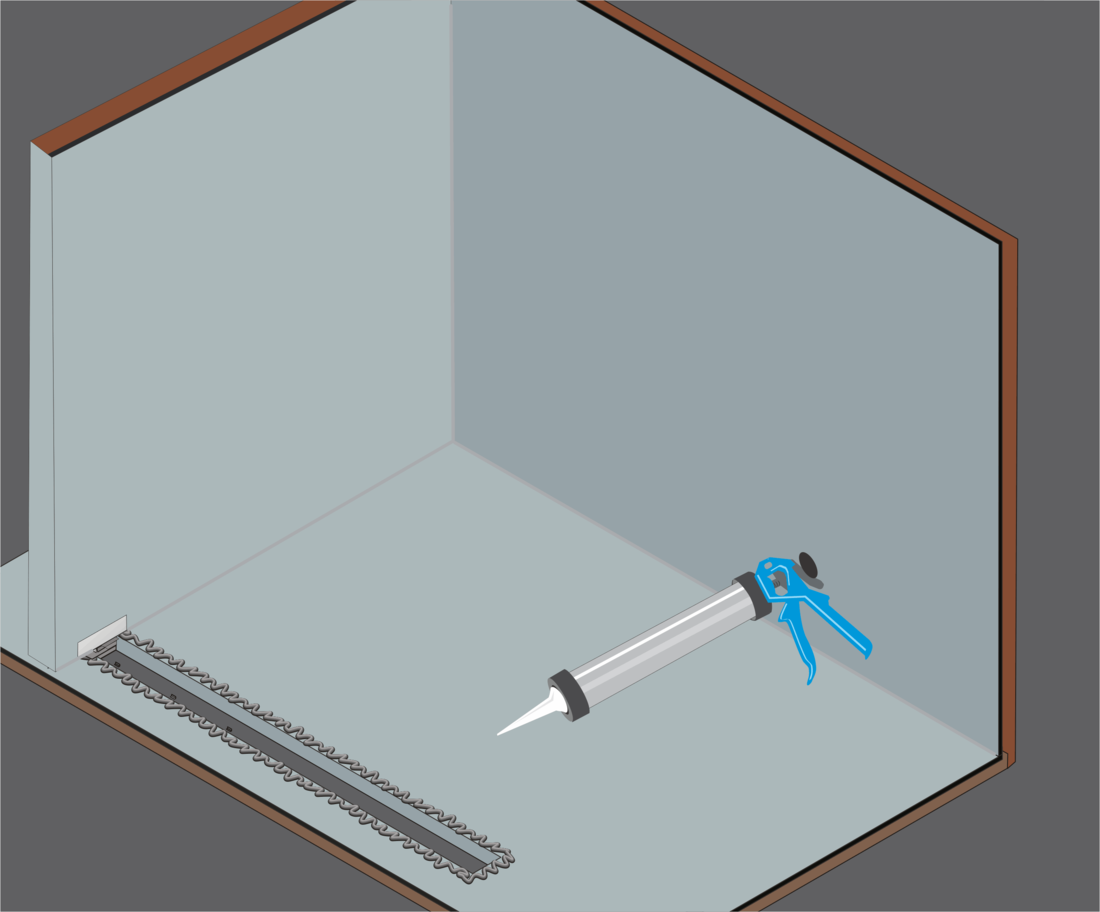
The drain and 'F' flashing should be temporarily fitted and marked around. Rebate the board by 2mm where required to allow the drain flashing to be flush with the top of the board.
Apply polyurethane adhesive/sealant around the rebate area.
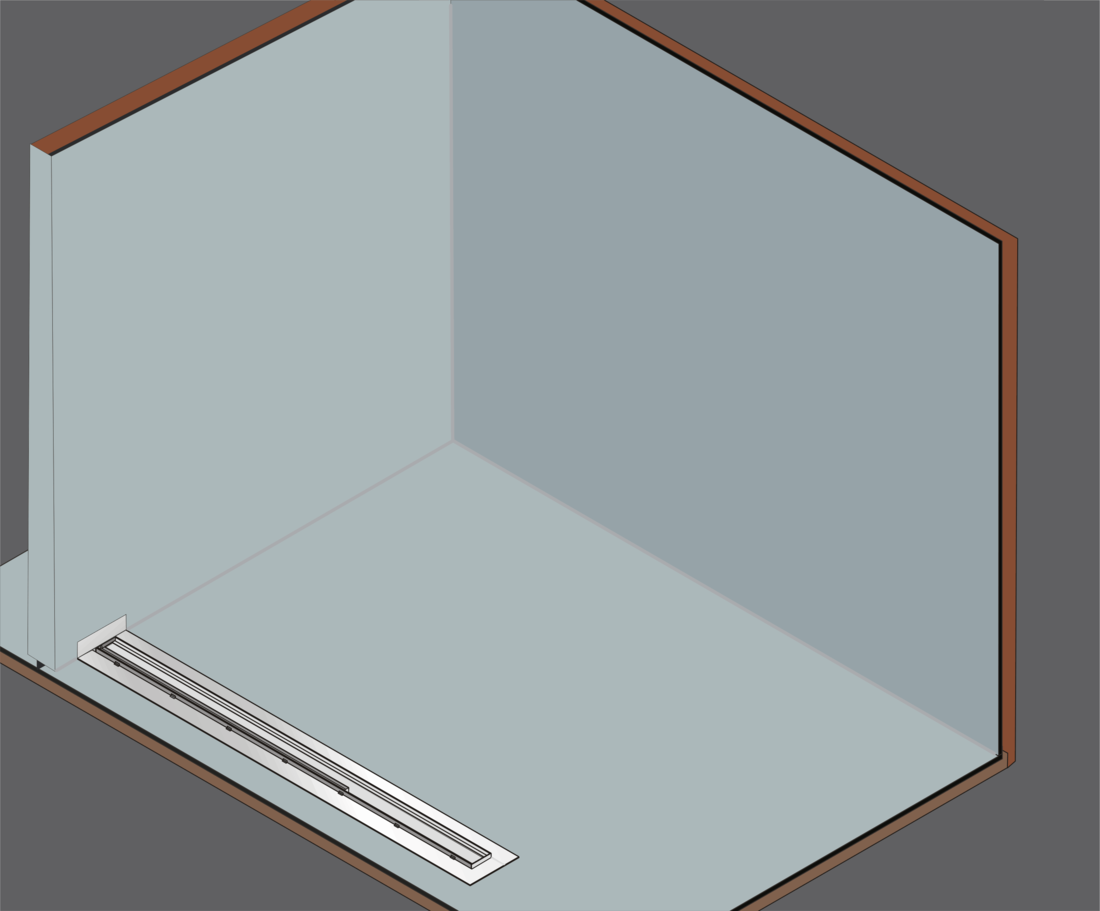
Step 5
Install the drain into place over the polyurethane adhesive/sealant ensuring the drain is level. Fix in place with stainless steel screws, filling each hole with adhesive/sealant and covering each screw following fixing.
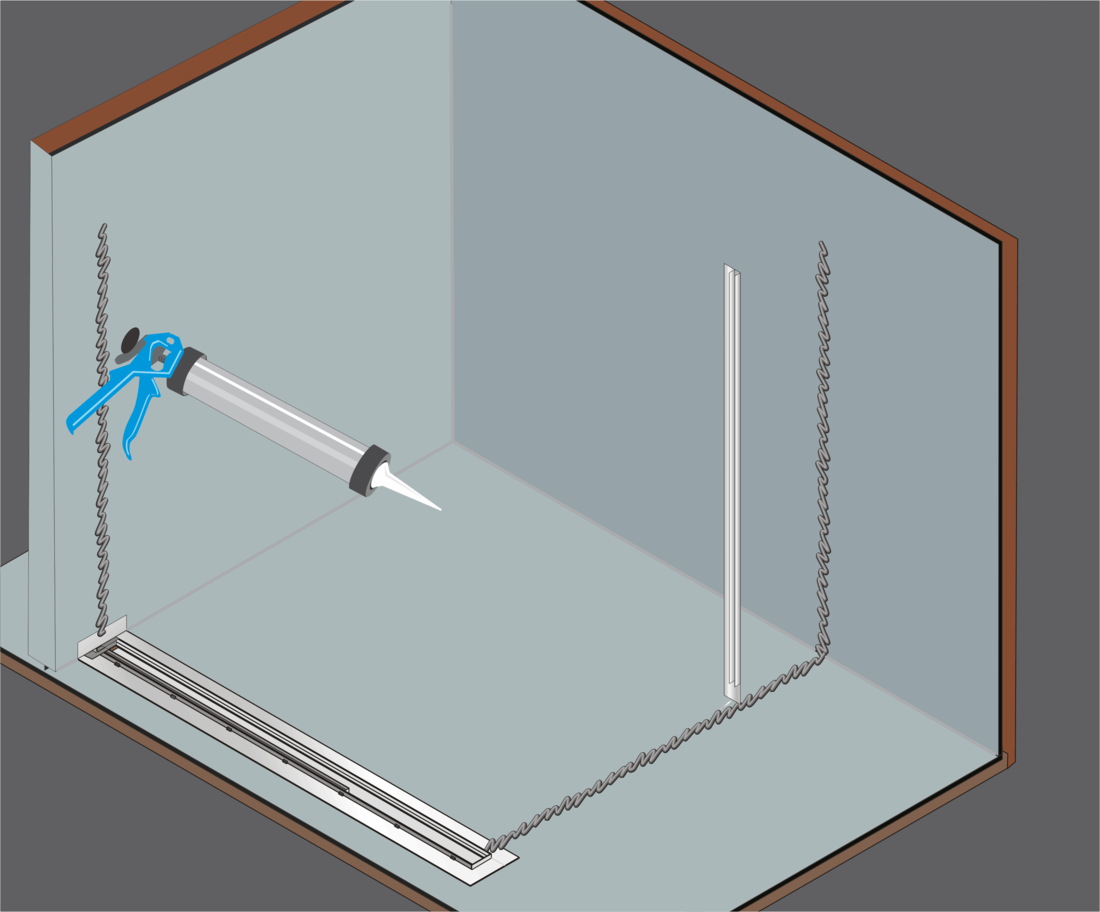
Step 6
Apply polyurethane adhesive/sealant to areas where the wall and floor flashing will be installed.
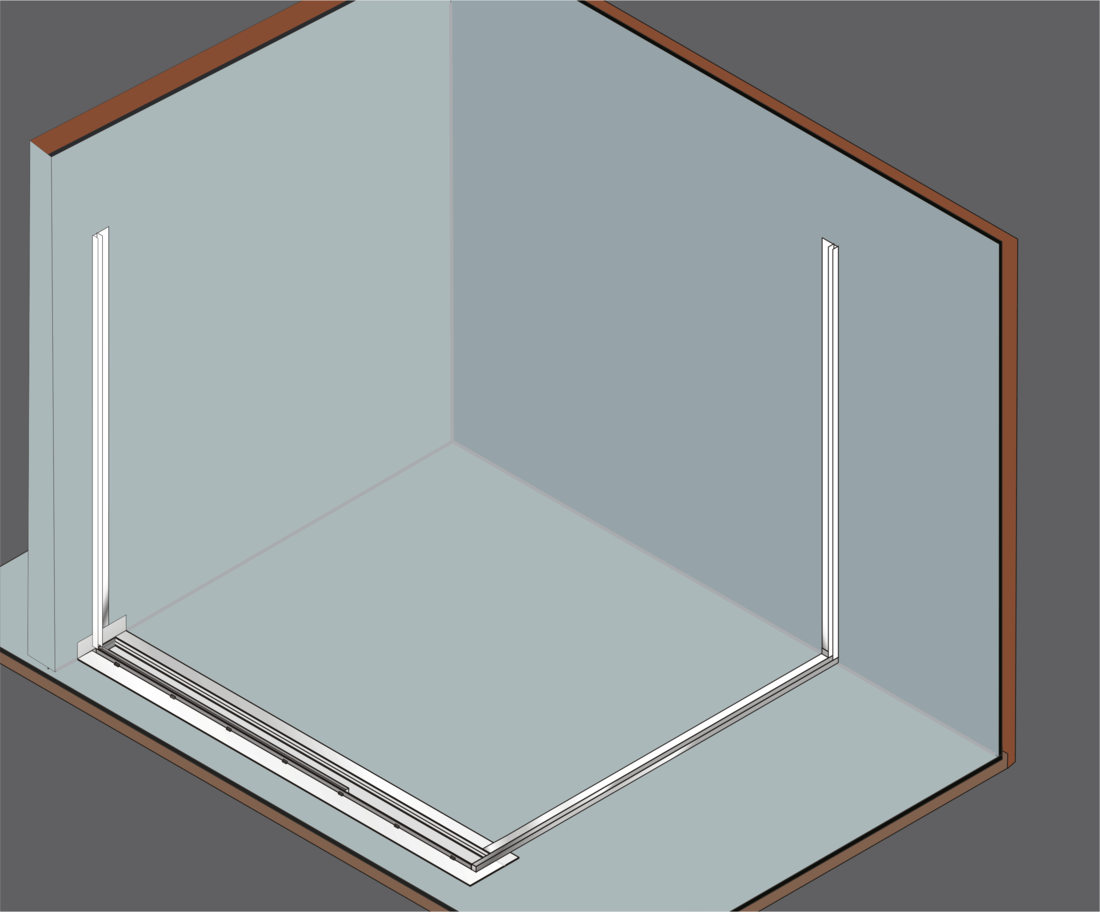
Step 7
Install wall and floor flashings. Use only stainless steel screws, filling each hole with adhesive/sealant covering each screw following fixing.
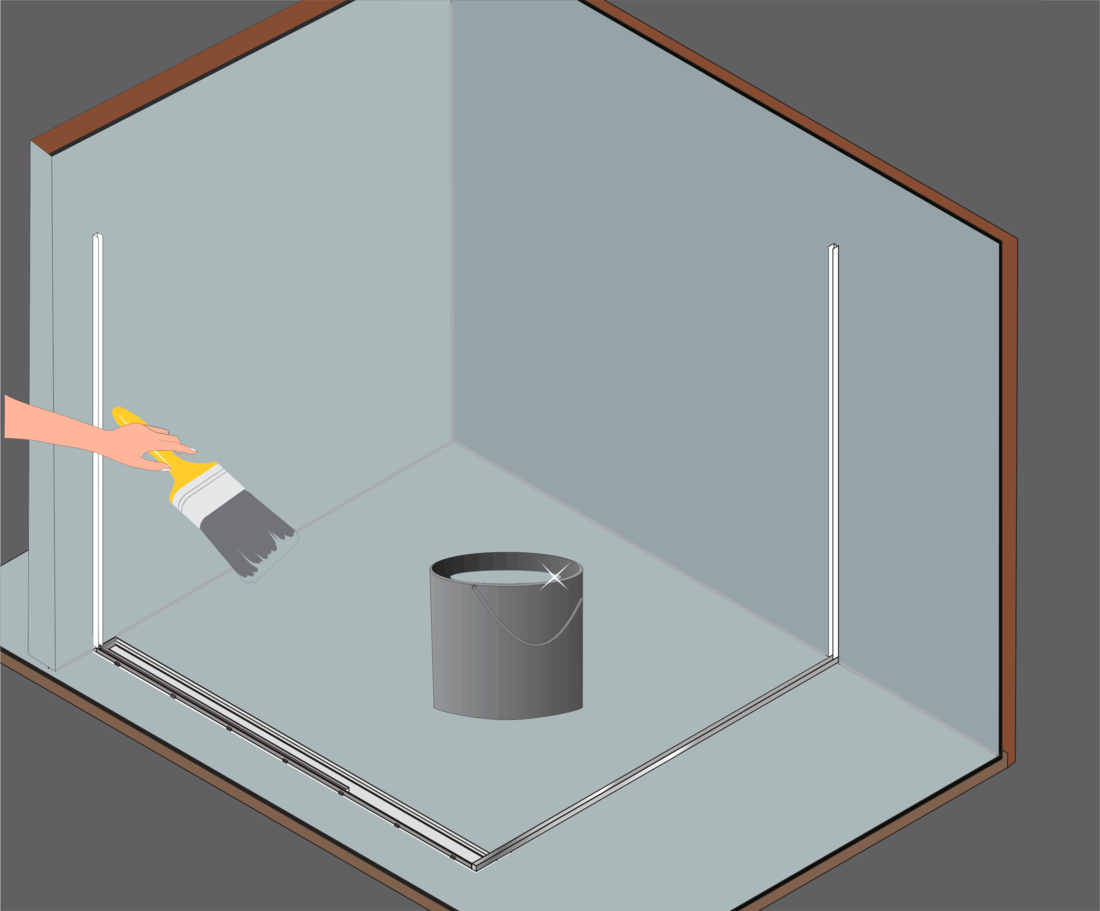
Step 8
For quick and easy installation we recommend the use of Graded Construction Board to create fall in your wet area.
For more information visit Graded Construction Board
Apply another coat of waterproofing to the area covering the flashings.
Step 9
Apply a polyurethane adhesive/sealant onto the base area that the graded construction board will be applied.
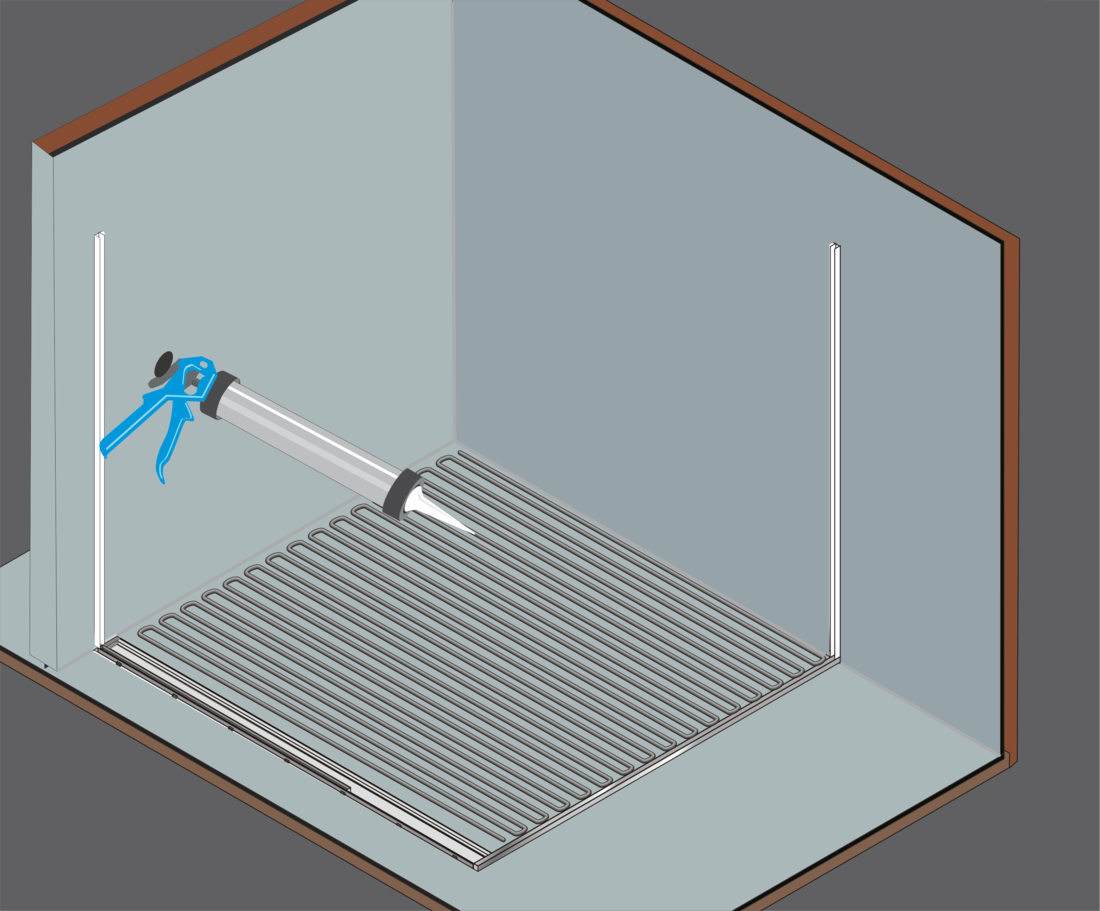
Step 10
Install graded construction board into place while the adhesive/sealant is still wet. Ensure a good adhesion between the construction board a floor by pressing down over the entire surface and using weights until cured.
Note: the edge of the construction board must not be closer than 50mm to the face of the tile lip.
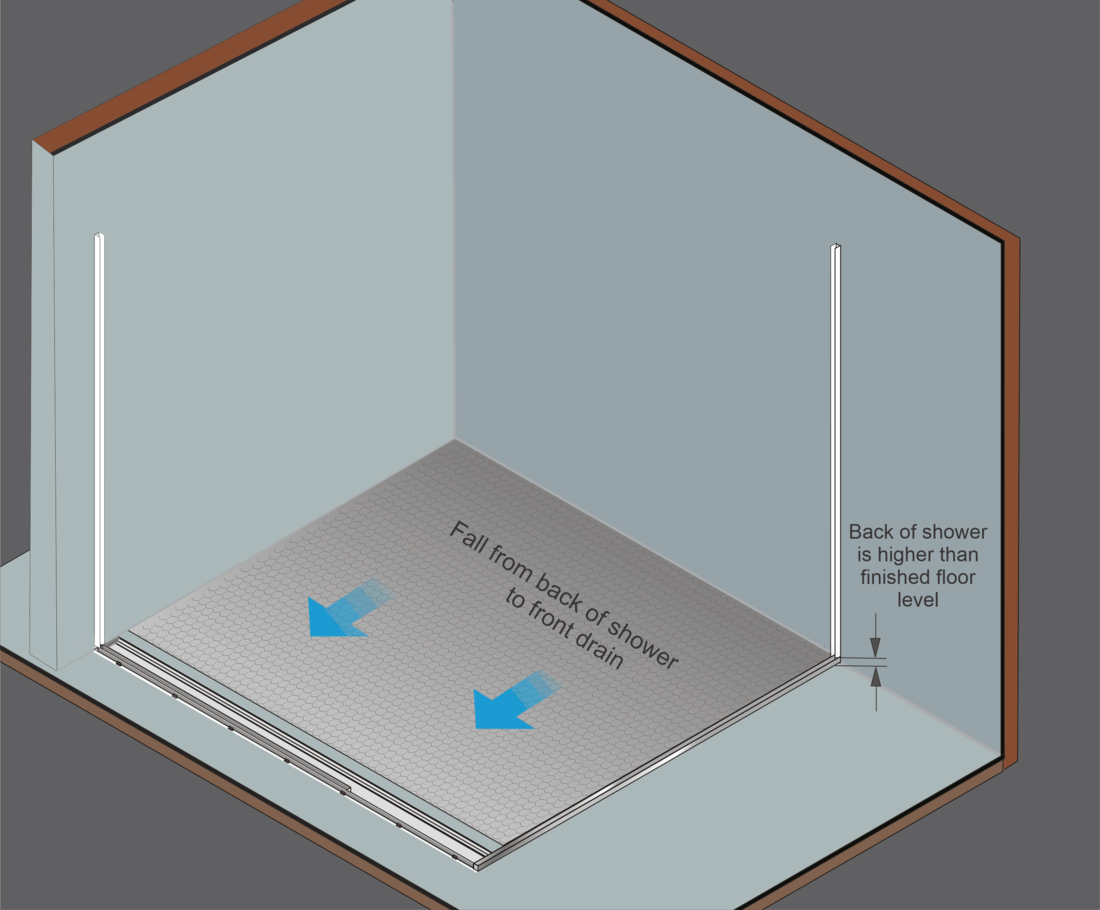
Step 11
Once the construction board is fixed in place, install 2 more coats of propriety waterproofing (Refer to manufacturers specifications) to all shower base wall and floor areas, and the floor outside the shower as shown.
Important: Do not block the weep holes with waterproofing.
Ensure you waterproof all of the bathroom areas to Australian Standards ASA 3740-2010.

Step 12
Apply tile adhesive per manufacturers instructions.
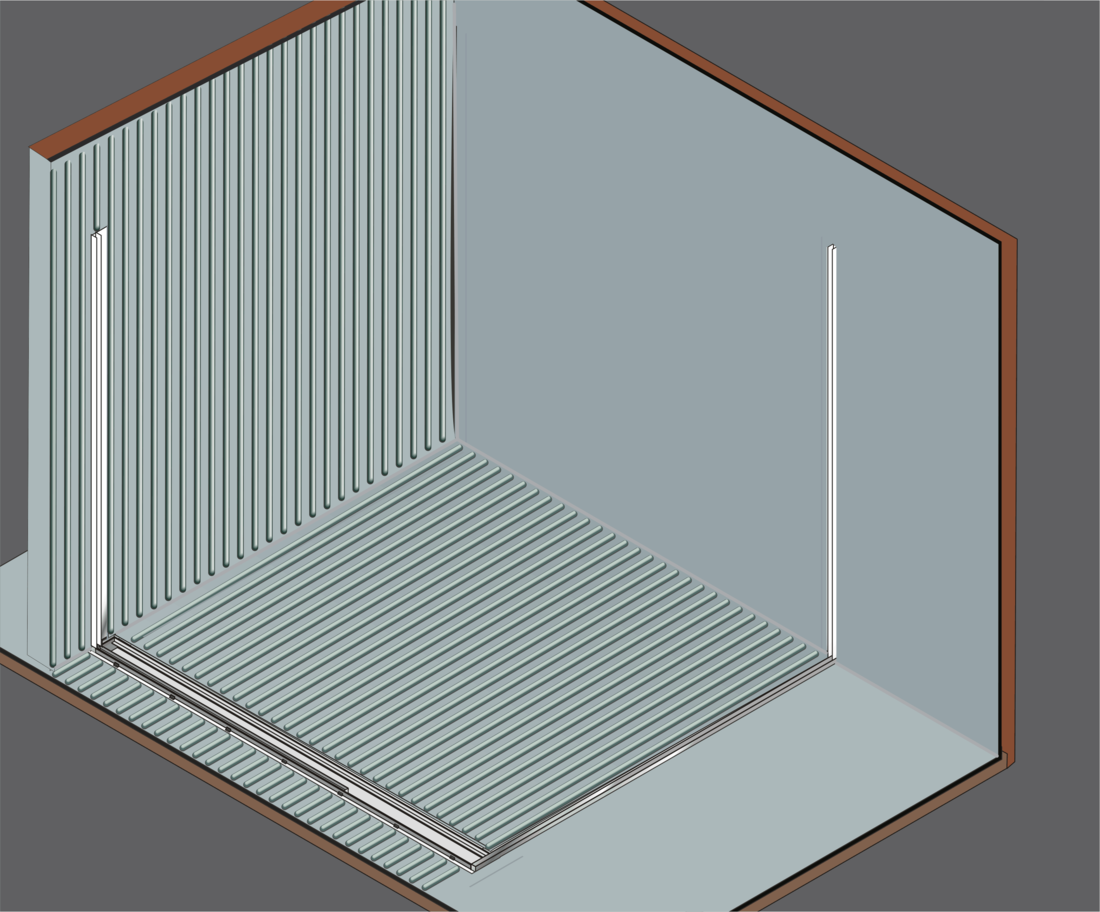
Step 13
Lay tiles, ensuring there is a 3mm gap between a tile edge and the tile lip.
Maintain a 3mm gap with a removable MDF sheet or similar. When mortar and grout are dry, remove 3mm spacer and clean the area.
Apply and install color matched silicone between the tile edge and stainless steel lip.
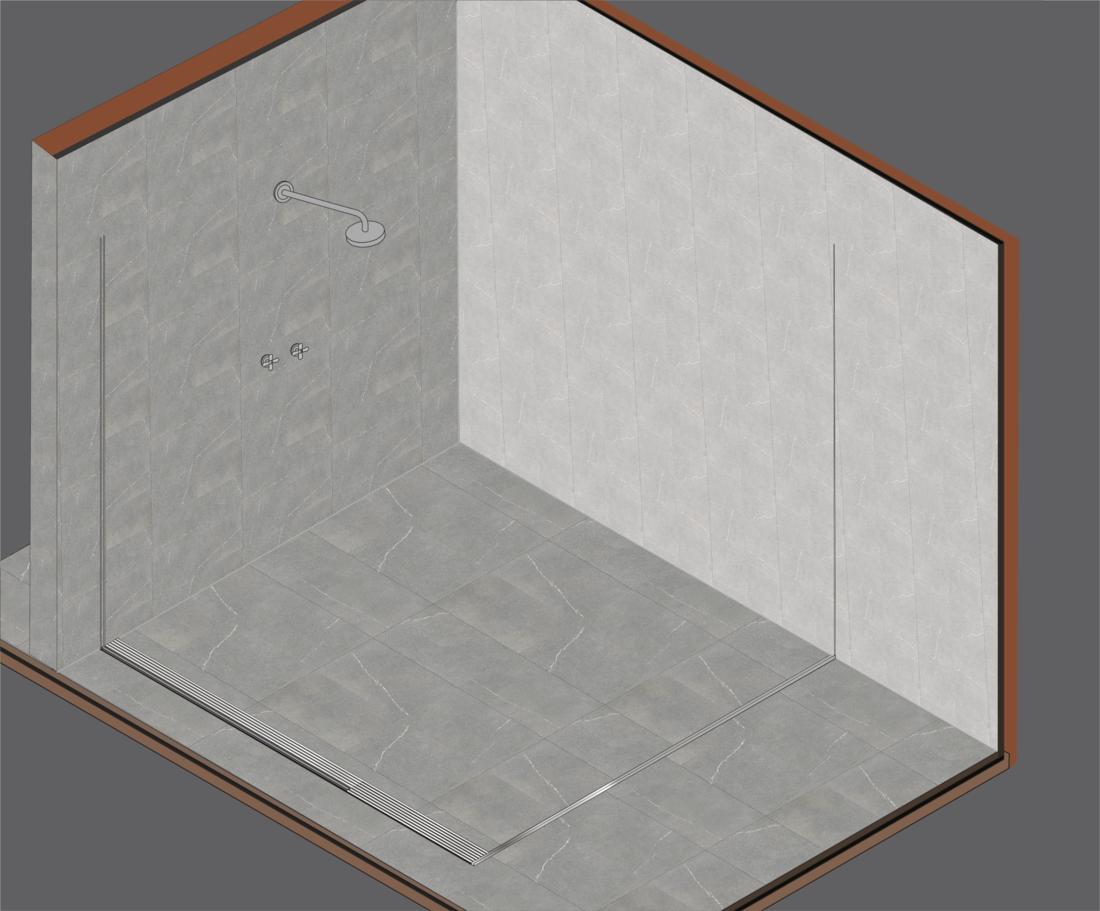
Step 14
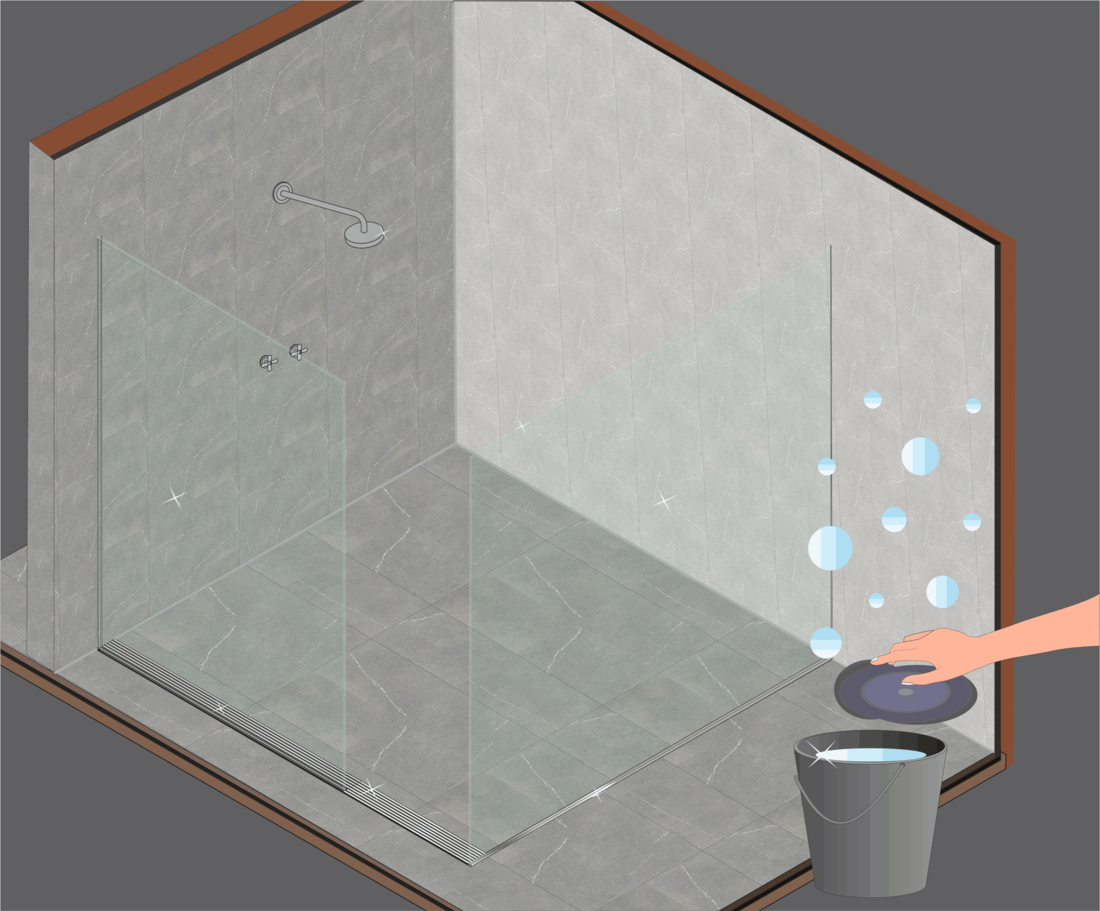
Give the tile and drain a clean with warm soapy water to ensure no dirt or debris remains and rinse with warm water.
Fit glass and grate in place and rinse clean.
Now you can enjoy your new Creative Drain and tiled wet area.